The Jibun Techo caught my eye as a planner around September of last year. I have a demanding 9 to 5 job that requires a lot of focus. There are a few features of this planner that caught my eye immediately. It became more appealing as I looked into using it as my planner.

This planner has a very slim profile. It has the yearly calendar in three formats and a week at a glance on every two page spread. I intend to use this planner to manage my blog and media.
The yearly schedule is a view of the entire year on a two page spread. I am going to use these pages as an overview of my content. This will allow a quick glance to see how often I am putting out content.
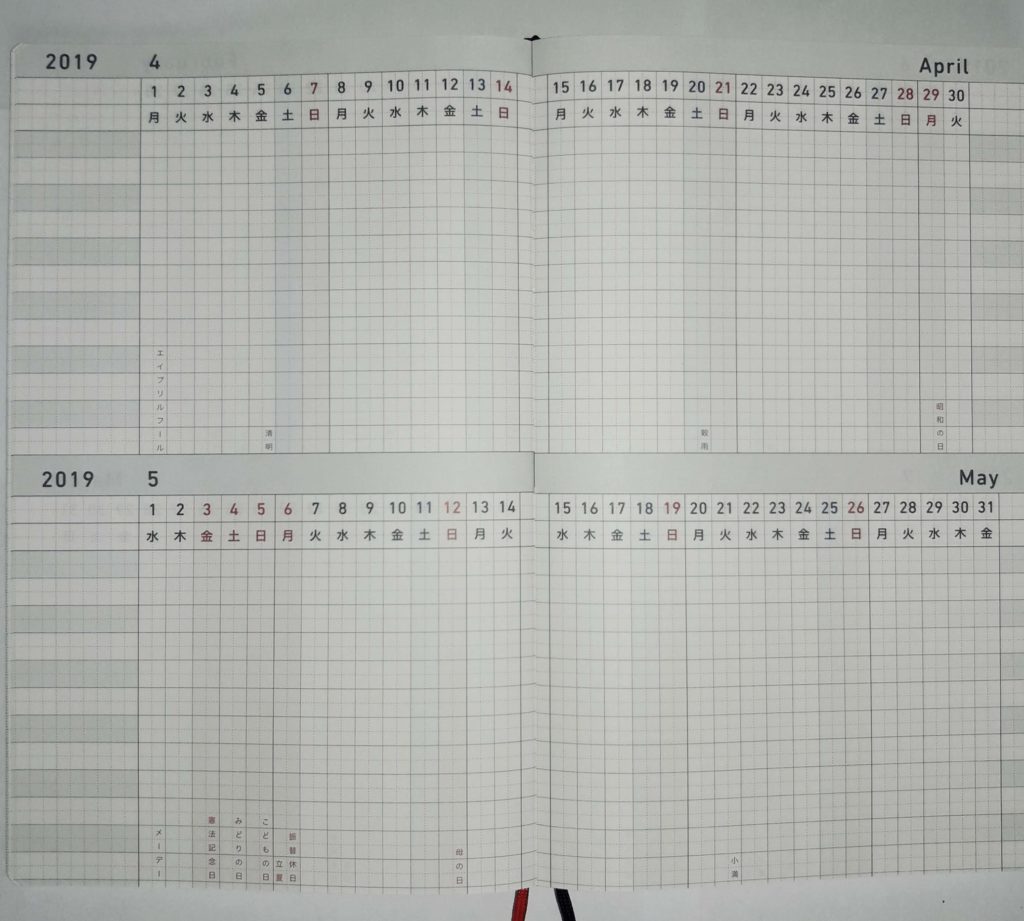
The monthly project section will be where administrative items are tracked. These are the types of tasks that lead to content creation. This should be a helpful way to see how often I perform the background tasks for content creation. Additionally, I can tell how often these steps result in published content.
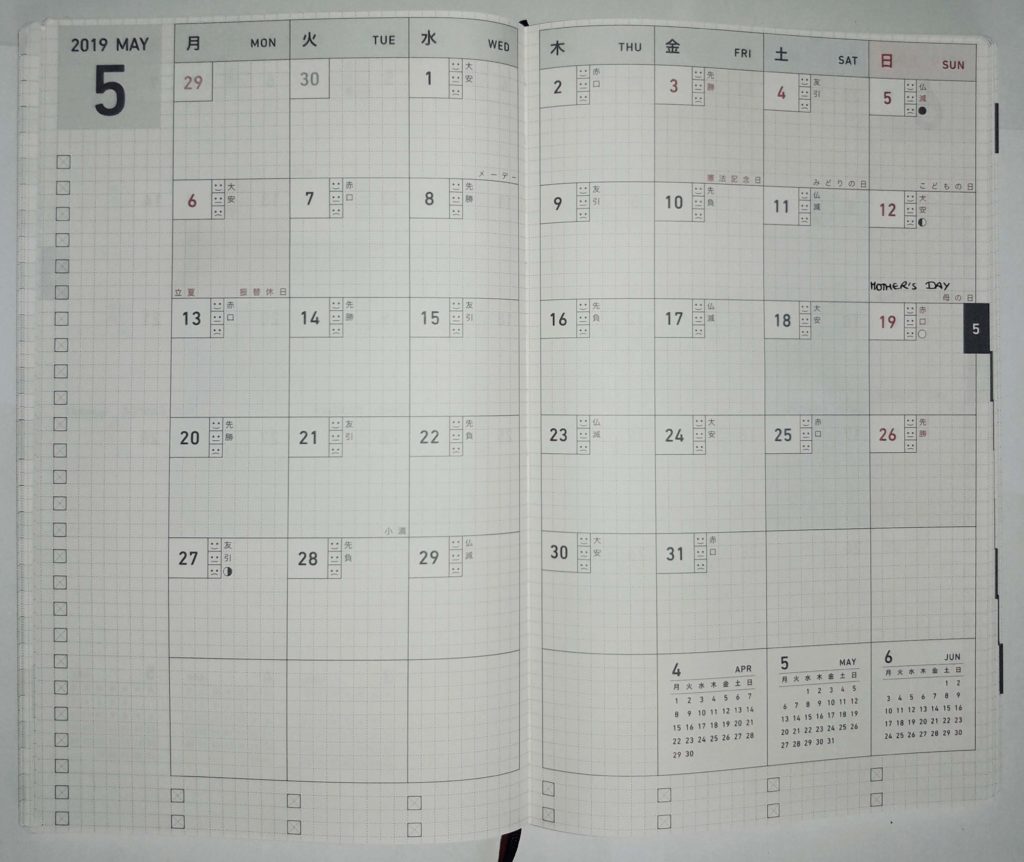
The monthly schedule will house all of my month specific tasks. This area will show exactly what I have published by name. This will hold all of the plans for both my content and editorial calendars. All of my content ideas and plans as well as the overall plan and structure.
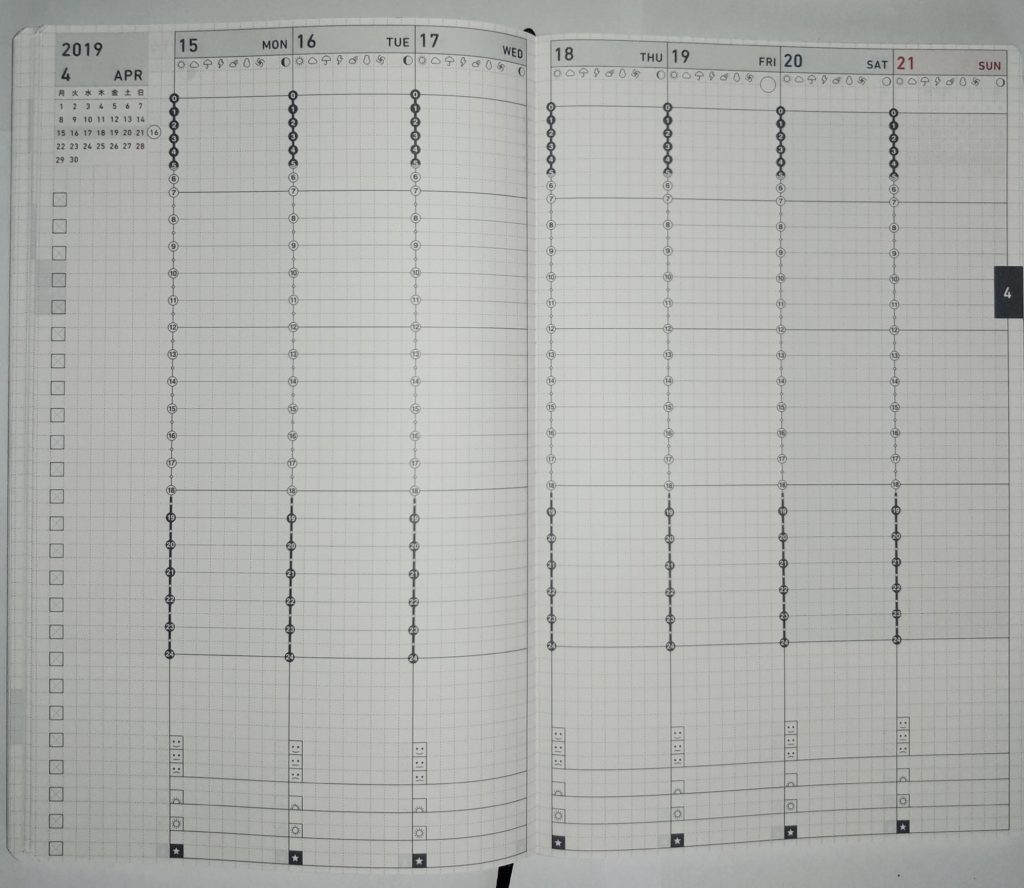
Weekly schedule is a two page view and the workhorse section of the planner. This is where all the nitty gritty information from research points to minor to do items will be logged. All of the information that will assist with my sharing with you.
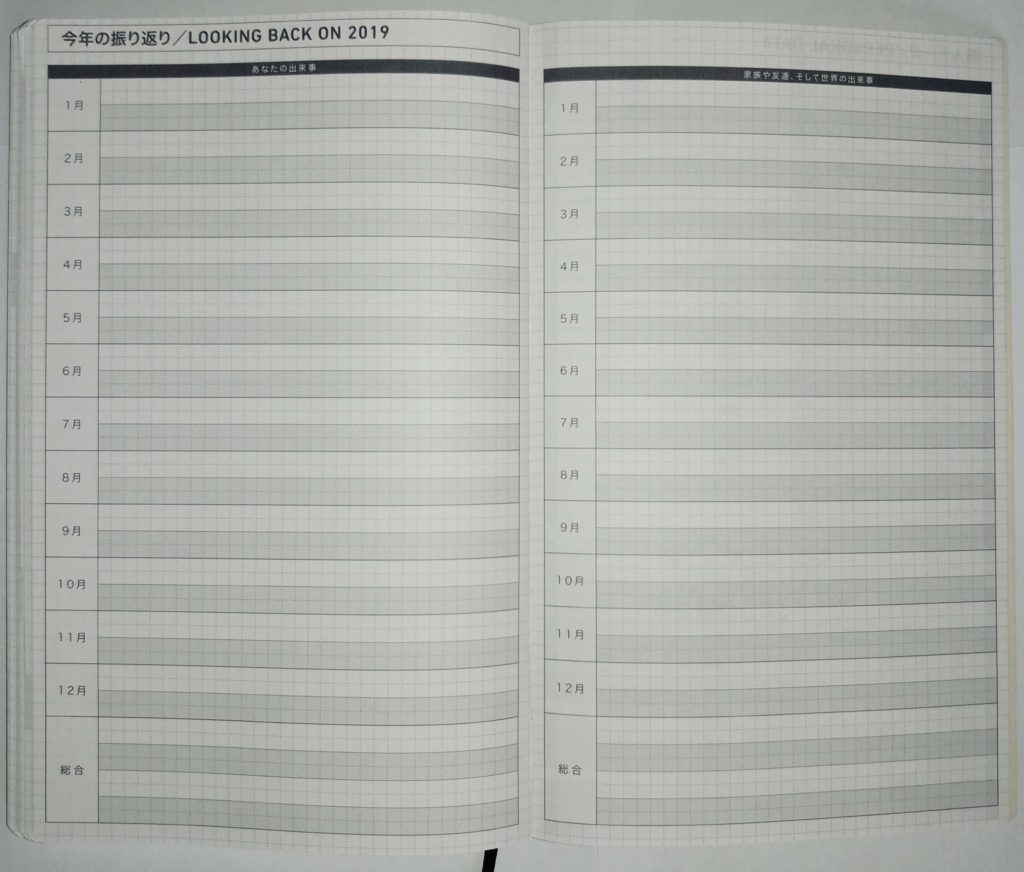
The spread titled Looking Back is the one that I am most excited about. I plan to put all of my accomplishments and milestones in this area. Having a positivity page that I can quickly look at when I am stressed, anxious or unsure will serve as a reminder to persevere.
All of these built in features has made the Jibun Techo the best planner choice for my online content.
